If you have considered replacing your deep cycle battery for RV and don’t know how to do it, you are landed in the right place.
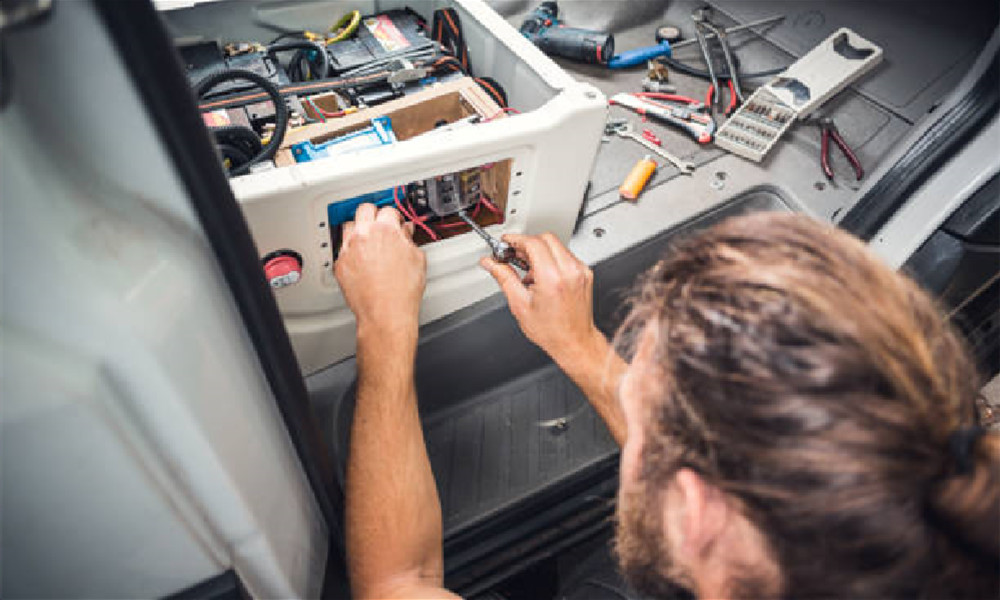
But, you have seen the RV battery compartment and it is full of tangled wires, it could be worse if your RV has more than 3 batteries connected in series/parallel, seeing all those jumper and connector wires colored in black and red and you have not even an iota of idea of where to start, which wire to unplug and most important question which wire can cause harm if touched without any measure.
If you have experienced any of the above mention thoughts, believe me, you are not alone and you don’t need to worry anymore, In addition to this, you don’t need to spend any money by calling a specialist to replace your batteries because this article contains all of the information in details and in simple order that if you follow, you will be able to do it all by yourself.
Usually, you will have to do this task every 4 to 6 years, so learning this skill goes a long way especially if you are doing full-time RVing or running low on budgets.
This step-by-step guide explains everything in an easy way and doesn’t contain any deep engineering stuff, so you can absorb this all information like a sponge even if you are naive to this all RV life.
1. First thing! does your RV really need a new pack of batteries?
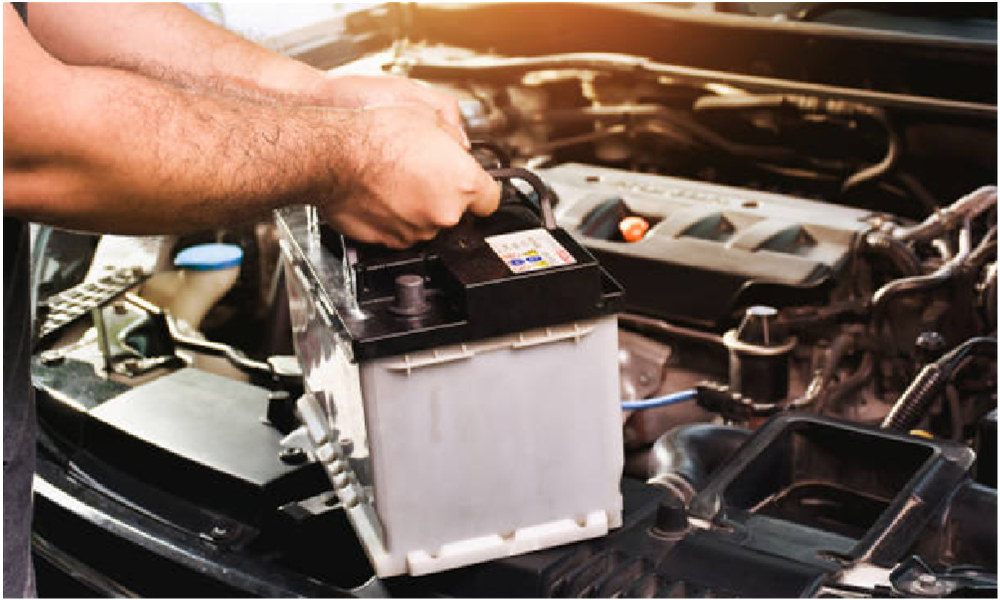
Before you jump into unplugging the batteries, you need to make sure that the cause of dim lights or the low rotating speed of the motor appliance in your RV is the battery. There is nothing worse than buying a deep cycle battery for RV and replacing it with already perfectly working batteries and in the end just knowing that the problem was not the batteries but the fault in the connectivity.
You might have already known that the RV has two battery sets one known as a house and the other as a starter. Remember that all of the main electric appliances, Television, cooling systems, and kitchen appliances are connected to the house battery so if you experience any of them not working up to their mark there are high chances that your house battery needs to be replaced.
Another check would be to plug the mobile charges, or kitchen toaster (but it is better to check the toaster/charger in some outdoor electric socket, just to confirm that they are working fine) and if you see that these electron devices are not working, it is a green signal for you that it is high time to change your deep cycle batteries with the new one.
Lastly, you can use DMM (Digital millimeter) to check the voltage level by connecting the red probe to the hot terminal of the battery and the black probe to the cold terminal of the battery, if the voltage level is less than 6V ( after fully charged) it is also the indication that these batteries are dead.
In order to know the condition of starting batteries, all you have to do is to have a good look at the indicator screen, if the red warning sign is on, you will have to change the starting batteries as soon as possible otherwise you may end up with the vehicle that just makes strange noises when ignition buttons are pushed on.
It is recommended by a “Pashbull lithium battery expert” to make a habit of checking batteries regularly. This usually only requires less than five minutes and can save you from getting into a terrible situation.
2. Easy guide to replacing your deep cycle battery for RV!
After confirmation of battery condition, it is time to be dexterous.
Remember the golden rule: As long as you follow the rules and precautions you have no reason to worry about any mishap.
Planning Phase
The most important part of every operation is the planning, same is the case for replacing deep cycle lithium iron phosphate cells.
The first step is to find the compartment where the batteries are located, usually, the RV house batteries box tray can be accessed from outside on the passenger side near the front tire, you will see a small gate just like a petrol lid box but bigger in size. Push the button or turn the handle clockwise and the box will open you will see a battery there along with some wires.
The next task in the planning phase is to have some visual record, the moment you open the battery compartment, pick up your phone and take clear pictures without touching any wire, try to focus on the ending of each wire and the connectivity of the red and black wire with particular hot/cold terminals.
This visual record of the actual wiring layout will help us route the cable the exact way they are now and will help a lot in the last phase of re-connecting the wires and placing them the right way, this is the first and most important task.
But only pictures are not enough as wires are usually tangled and often it is observed after disconnecting the wires it becomes hard to recognize the right wire for the right battery terminal.
The next step of planning is to make a simple drawing layout of the wiring. The wiring layout will have all of the batteries along with their hot and cold terminal clearly displayed with the symbols negative (-) and positive (+). we also draw the post with an exact position as it is crucial without it there is no way to be certain about the connections.
Once the layout is complete now it is time for the tagging job, we recommend using simple paper or masking white tape. Connect a piece of it on both ends of the wire and label the tag just as you have labeled it on the layout for example the red wire connected to the first battery negative terminal should be labeled as ( 1 -) with the sharpie marker, the other end is attached with the battery no 3 on another post so we will mark it 3-.
Do it with every cable be sure to tag every end making certain not to miss any if you are removing your starting deep cycle battery for rv be sure to mark and tag them as well.
3. Execution Phase
Before you remove any wire turn off all the power coming into the battery. (This can be done by turning off the main switch that will automatically disconnect all of the power generating sources like solar/ wind turbine/ generator). After that, you will have to turn off all of the individual breakers and switches that are connected with different electric appliances.
If you are also replacing your dead deep cycle battery for rv, first turn off the ignition and wait until the indication screen completely turns off. Some of the RVs don’t have any switch for solar panels the better and most safe way is to disconnect the wires by un unscrewing the cables, however, just covering the solar plates with some towel or cardboard will also do the job.
Covering them up will prevent them from sending any power to the batteries and also turn off all power coming from the battery inside the RV and in the engine compartments.
Now we are ready to remove the cable but be careful not to accidentally allow socket range to touch a positive and negative at the same time. It is dangerous to touch hot and cold terminals and could start a fire or cause an explosion.
In order to keep the wrench safely away from the terminals use a short socket extension unless you are looking for a firework display.
Always disconnect the main negative cable of the deep cycle battery for RV first. On RV that is always the thick black cable, the main negative cable is not only the first one to disconnect but the last one to reconnect at the end of the job.
Once all of the cables are disconnected, Remove the batteries and set them out of the way. At this point, you will see from the set of the wire jumble down and that is one of the reasons why I stated that photograph alone would never help us to reconnect everything back.
4. Some Extra Recommended Job (optional)
Replacing a deep cycle battery for RV is not the job you will do every other day. These batteries have a good life. So, when replacing and removing them out of the battery tray, it is recommended to do a little more work.
The battery compartment is located near the tire, this means it can suffer from moisture and dust, and this causes corrosion, when you have safely removed the battery use brush to clean the tray, if your deep cycle battery for rv has movable tray grease it a little, you can also clean and painted the battery tray with flat black rust oleum and clean the end of each cable with the wire brush.
5. Final phase- reconnecting the wires
Now place a new deep cycle battery for RV. Connect the cables according to the diagram and remove all of the masking tape tags.
While reconnecting observe the end of each wire and U-shaped connectors, if you observe any corrosion or decomposition it is best to replace them too with LifePO4 it is also recommended to use a battery washer over each post before reattaching the cables as it will help prevent corrosion and increase its working life.
6. Congrats! Job Done
This job is all about preparation and planning and if you follow the planning and execution phase as mentioned above you will easily complete the job like it is a breeze to reassemble everything.
If you are unsure about how a cable should lie simply refer to the photo you took during the planning phase.
If the wires are not settling down properly buy some nice set of hold-down straps as they work perfectly and have good durability.
Important Tips:
Safety first: It is highly recommended to use safety glasses and rubber gloves while performing this job.
Never touch the hot and cold terminal (positive and negative) terminals of the battery and keep your tools away from these terminals.
Batteries are heavy so, use proper body posture while picking them up, if you find them too heavy to carry, it is always better to ask for a helping hand.
Old batteries should never be disposed of in dustbins. Find a retailer/safe place to toss off your old batteries safely.
Check List for Replacing Deep Cycle Battery for RV.
