If you own an RV, it is highly likely you are going to have more than rv deep cycle battery on that RV. If you have above average size RV, it must have more than 3 batteries to power up everything on your RV, some RV might have 8 batteries they are really important for the operation of the many system of your RV and you want to make sure that you maintain them.
Otherwise it could lead you possibly stranded without an electronics working in your RV or more importantly you could be out of a lot of money.
In this article, you will find techniques and tricks shared by experienced RV drivers regarding health and maintaining your RV deep cycle battery.
Although you don’t really need much effort to maintain your AGM, GEL, or lithium iron phosphate batteries, these still need some kind of maintenance to keep them healthy and sound for a longer period of time.
Batteries have many benefits as they help to start the vehicle and also to power many different features that one uses in the RV. In addition to this, it give you the luxury to charge any electric appliance while you are cruising and enjoying life to the fullest.
For this reason, we keep reminding our battery owners that nothing is more frustrating than a completely dead battery in your RV when you are fully excited to reach your destination- but the good thing here is that this grave problem is also the one that can be easily avoided with simple maintenance.
In this article, we’ll elaborate on caring and methods of cleaning off the corrosion in such a way that anyone can do that by themselves with simple household items.
1. What is the RV deep cycle battery sulfation?
Sulfation is the chemical process that can be described as the gathering and rapid growth of lead sulfate crystals on the inner surface of a battery including the plates and internal side of terminals. Usually, it occurs when the fully discharged battery is kept In a humid place for a longer period. From research, it is found that this process progresses when the battery level is too low or the user is not completely charging the battery.
If the battery is not charged the crystals will grow to larger crystal this process continue go until the whole battery’s inner side is completely covered with a cyst-like substance leaving no room for fumes and water level to go up or down when charging and discharging. The sulfation process also affects the charging time.
With time, the terminals of the battery will develop corrosion. The dust and humidity that accumulate on the terminals may cause a chemical reaction that decomposes the iron and copper. The corrosion can happen on almost all exposed parts of the battery including the cable ends and bolts on the battery tray. This will hinder the vehicle to start as all of the power will be wasted by the short circuit that occurs due to corrosion on the battery terminals.
Moreover, this corrosion will also hinder the charging process and stops the flow of current. That’s why cleaning regularly is very important and can save a lot of your money. Moreover, it ensures safe operation and stable working of your RV battery.
Just by looking at different parts of the battery compartment, you can easily recognize the corrosion process. It is expedient to start the cleaning process as early as the development stage of corrosion. Corrosion appears as a white or off-white solid debris on the terminals and on the cables. Sometimes the mixture can appear green this occurs when the lead and lithium of the battery start to get mixed with the outer terminal.
2. How to deal with the rv deep cycle battery about clean anxiety
Cleaning tools
- Glasses
- Safety Rubber Gloves
- Battery Cleaner Spray
- Protective Spray
- stiff-bristled brush/wire brush
- Distilled Water
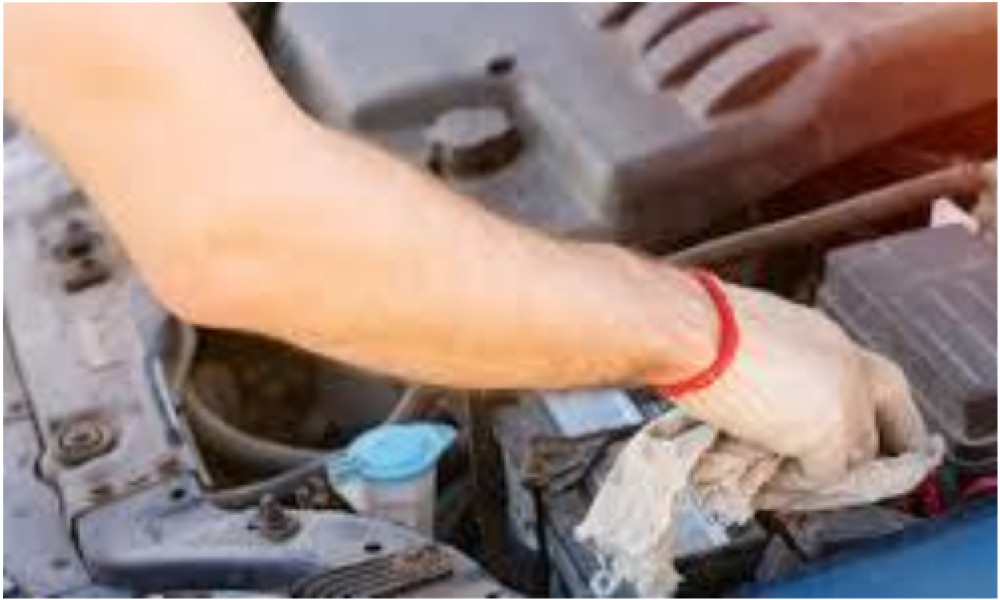
2.1 Start with removing all of the battery cables
Turn off the vehicle and remove the cold terminal cable, it is colored in black but in some vehicles, it can be green or yellow. repeat the process on the positive terminal. If you find any nuts on the terminal it is also advisable to remove them off too. When all of the cable and strap down holders of the cable are removed.
Observe the battery pack and look for any corrosion/ leaks or cracks on the body. You should also look for corrosion on the battery tray and other parts of the battery compartments. If you observe some major problem that you can’t be handled at home you should call a specialist to get things done for you.
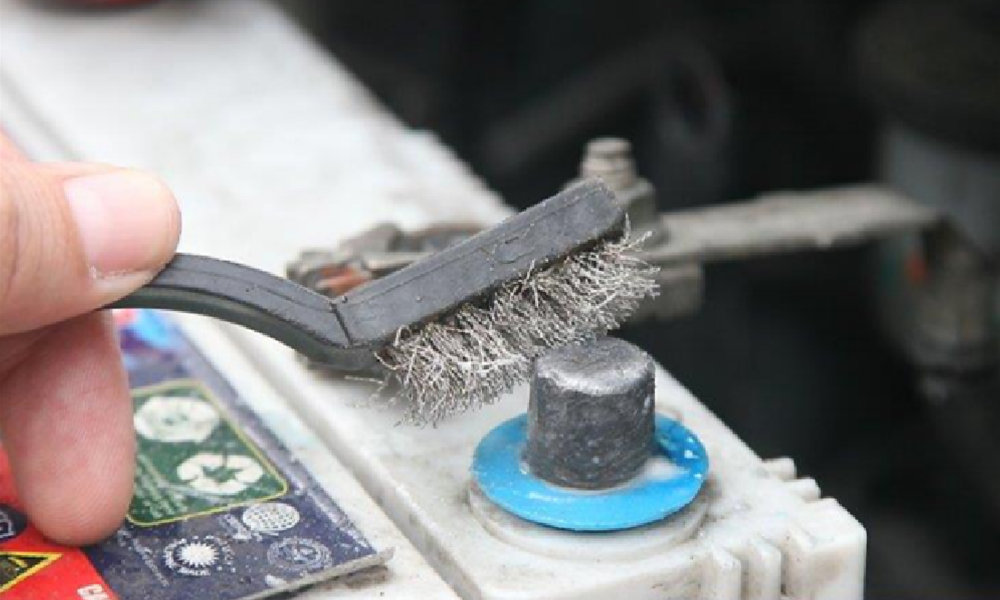
2.3 Pick up the brush and sprinkle distilled water on the terminals
Use the dry brush on the corrosive parts, and try to remove the upper surface of it. After that add some remover on the brush and also on the terminals and wait for about 5 to 7 minutes ( or as described on the product) to let the chemical reaction do its part. After that sprinkle some more mater, it will smooth and make it easy for you to remove the hard corrosion with the help of a brush.
3.What if you don’t have corrosion remover in rv deep cycle battery?
if you could get your hand on corrosion remover, it is not a big deal, just go to your kitchen and take one tablespoon of baking soda and add it to one full cup of water. Put your brush in the mixture for about 5 minutes and then rub it on corrosion-affected parts this mixture will easily remove all of the residues. Don’t do that part in a rush, corrosion removal process takes time you should be patient. Do it slowly to clean everything off your RV battery.
when you are done with the brushing process use distilled water to remove any remaining dirt after that you can either leave it for air drying or can use an air blower to dry it fast.

3.1 Second last task of cleaning the battery is reattaching the cables
Make sure the terminals are completely dry then use a paper towel on the surface, it is crucial as leaving the spray or water on the terminal can itself start a corrosion process. First place the positive terminal and then the negative use wrench to tight the clampers as loose connections can cause sparks.
With time the terminals may get softened, so it is advisable to not overtighten the cable clamper.
3.2 The last step- keep the terminals safe from dust and moisture
RV is mostly parked in some side areas where there are high chance that some insect or small animal may get into the battery compartments for this reason it is highly recommended to cover the terminals with some rubber. Also, apply a very thin layer of anti-corrosion spray.
Lithium iron phosphate batteries don’t require any water so RV deep cycle battery users don’t have to worry about that. But if your RV has a lead or flooded battery it is recommended to check its water level every then and now.